In modern livestock farming, veterinary ultrasound machines have become indispensable tools for diagnosing pregnancy, detecting injuries, and evaluating organ health in animals like cattle, Porci, Cai, oaie, and even camels. At the heart of these machines is the ultrasound probe (also called a transducer).

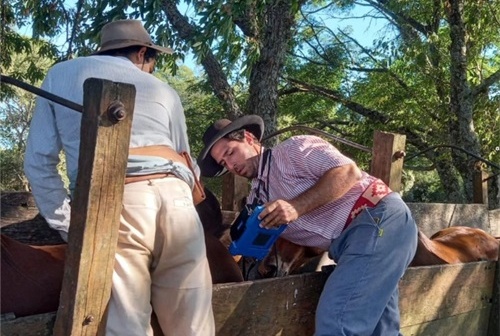
Ecuador Customer Tests the Clarity of BXL Equipment
The probe sends and receives sound waves that create the images you see on the screen. If the probe malfunctions, your diagnostic accuracy drops, leading to costly mistakes. That’s why it’s critical to test your veterinary ultrasound probe regularly.
In this guide, I’ll walk you through how to properly test a Ecografie veterinară probe to ensure it stays in peak working condition — whether you’re working on a beef farm, a horse ranch, or a camel dairy.
1. Visual Inspection: The First Line of Defense
Start by simply looking carefully at the probe. Remove any protective covers and gently clean the probe using a soft cloth and approved cleaning solution (never alcohol unless specified).
Things to check:
-
Cracks or cuts in the probe housing
-
Exposed wires or frayed cable jackets
-
Loose or corroded connectors
-
Wear and tear on the probe head (especially convex and linear probes)
-
Dirt or dried gel stuck in small seams
If you spot any physical damage, do not use the probe until it is professionally inspected. Minor surface wear is normal, but anything that compromises the internal components can result in poor image quality or even electric shock.
2. Check Cable and Connector Health
The probe cable is often the most abused part because it gets twisted, stepped on, and stretched during field use. Here’s how to test it:
-
Gently flex the cable while watching the screen. If image quality flickers or cuts out, the cable likely has internal breaks.
-
Inspect the connector pins for bending, corrosion, or missing contacts. A dirty connector can lead to signal loss and poor imaging.
Pro tip: Always store your probe with the cable loosely coiled — never tightly wound or sharply bent.
3. Image Quality Test: Quick and Effective
Now it’s time to see what the probe is actually producing on screen. Follow these steps:
-
Connect the probe to a known, reliable ultrasound machine.
-
Apply generous ultrasound gel to a clean testing surface or use a phantom (a special block that simulates animal tissue).
-
Scan the surface slowly and observe the image.
Caută:
-
Consistent brightness and sharpness across the field
-
Absence of “dead zones” — areas with no image or black spots
-
No random noise, flashing pixels, or snow
-
Clear delineation of tissue layers if scanning an animal
If the image appears blurry, distorted, or uneven, it could mean probe failure.

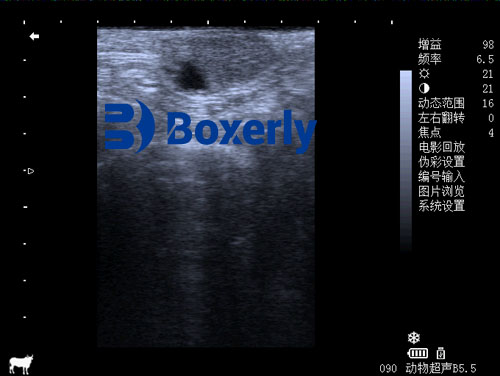
Bovine Corpus Luteum Ultrasound Imaging
4. Uniformity and Sensitivity Testing
For a deeper evaluation, especially if you suspect subtle problems, perform a uniformity and sensitivity test.
Here’s how:
-
Hold the probe against a flat surface with gel.
-
Move it side to side and up and down while keeping it at the same pressure.
-
Watch if the image brightness stays uniform.
If certain parts of the image are consistently darker or fail to detect fine structures, the piezoelectric crystals inside the probe might be failing.
In veterinary work, even minor sensitivity loss can mean missing a small fetal heartbeat or early signs of mastitis.
5. Using Dedicated Probe Testers
In larger operations or veterinary clinics, it’s common to have access to a probe tester. These devices can:
-
Measure the frequency output of the probe
-
Test element-by-element functionality
-
Detect weak or dead crystals
Hooking your probe up to a dedicated tester gives you a much more scientific diagnosis compared to just using your eyes.
Note: Probe testers can be expensive, so many farmers and small clinics rely on partnering with service providers or ultrasound manufacturers for periodic testing.
6. Troubleshooting Common Probe Problems
| Problem | Possible Cause | Solution |
|---|---|---|
| Black screen when probe is connected | Broken cable or connector | Replace cable/connector |
| Snowy or grainy image | Internal element failure | Repair or replace probe |
| Intermittent loss of image when moving cable | Internal wire break | Cable replacement needed |
| Blurry images at certain angles | Partial crystal failure | Professional testing and repair |
Knowing these common signs can save you time and prevent misdiagnosis in your animals.
7. How Often Should You Test Your Veterinary Probe?
As a general rule:
-
Visual inspection: before every use
-
Basic functional testing: monthly
-
Professional detailed testing: every 6-12 Luni
If your farm is scanning hundreds of animals a month, you may want to test more often.

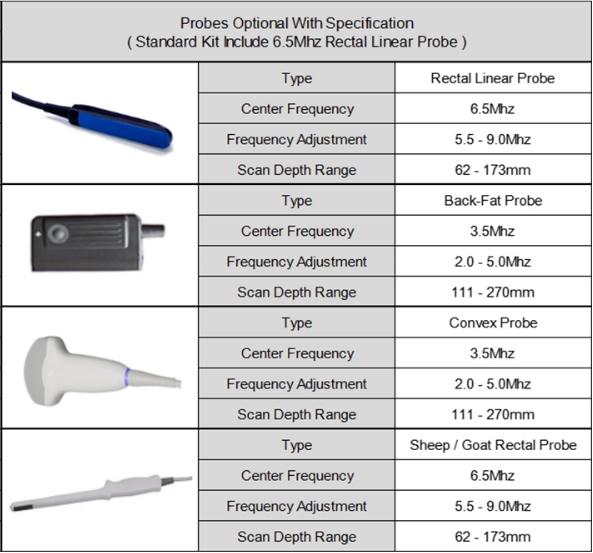
BXL Veterinary Ultrasound Probe
8. Concluzie
Un veterinary ultrasound machine is only as good as its probe. Regularly testing your veterinary ultrasound probe is essential to ensure accurate, reliable diagnoses. Whether you’re checking pregnancies in cattle, scanning tendons in racehorses, or evaluating camel udders for mastitis, a properly working probe protects your animals’ health — and your bottom line.
Take the time to inspect, test, and care for your equipment. It’ll pay off in better animal welfare and a more successful operation.